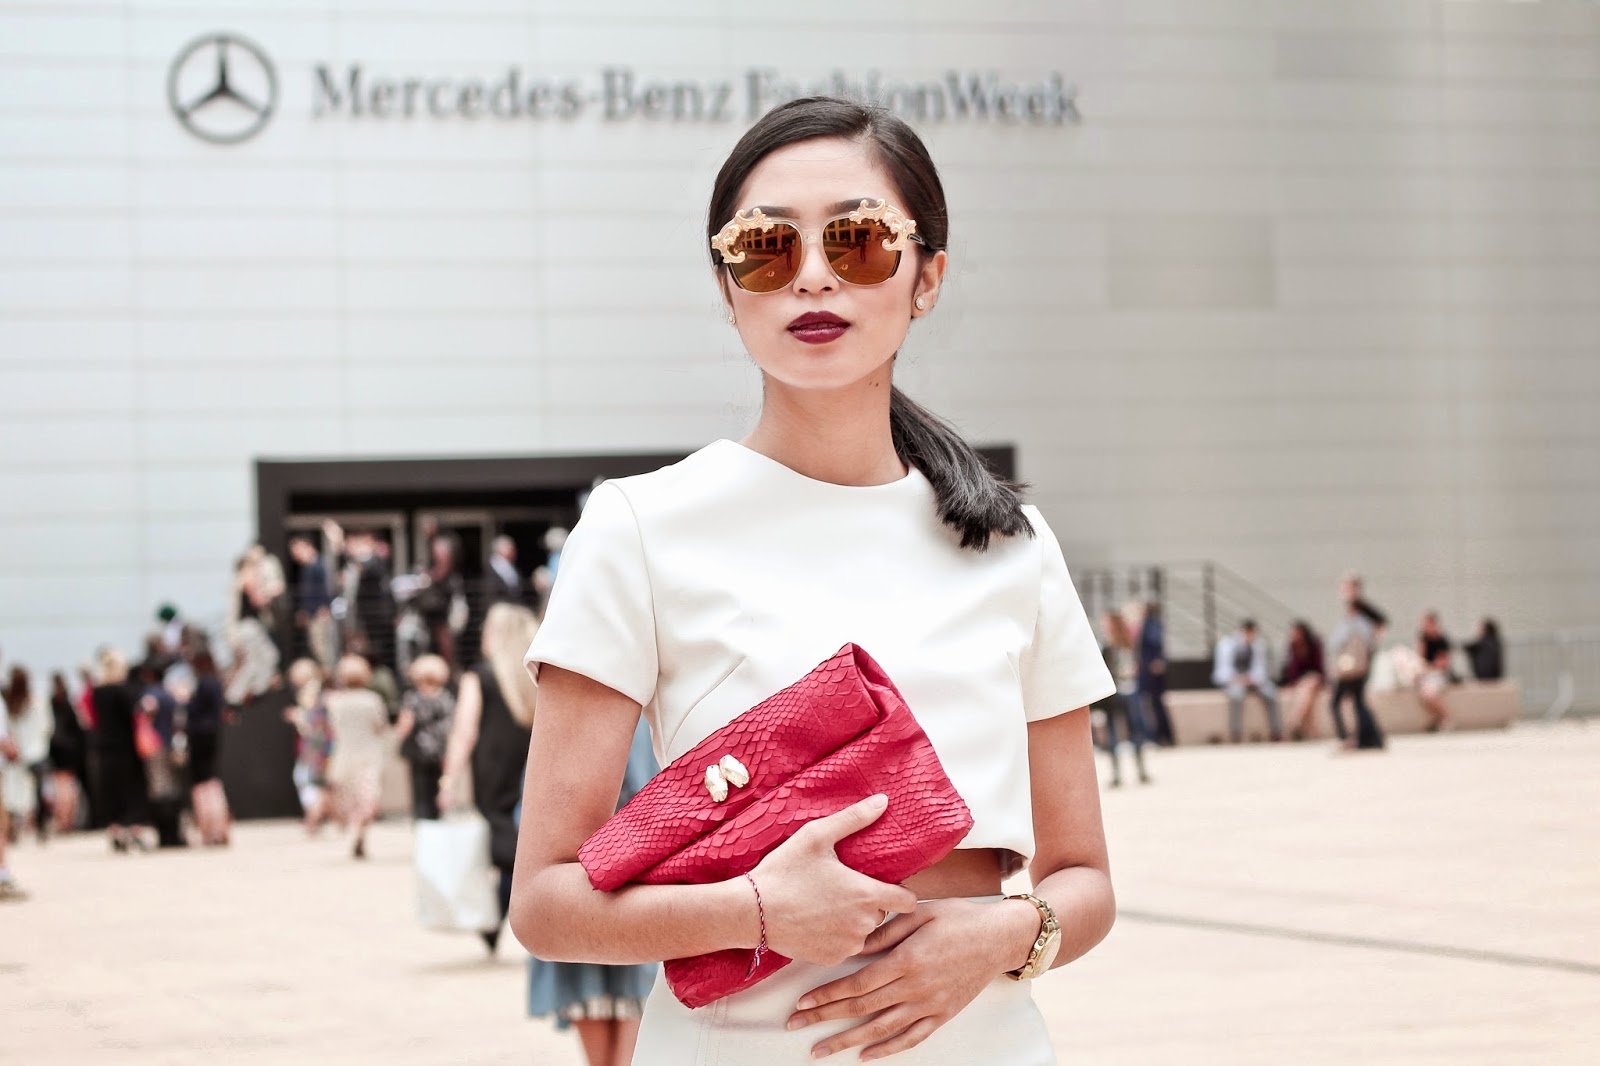
Excited to unveil my very first MAKEUP post! You'll find step-by-step instructions on one of my most frequently used looks. This particular look is all about the bold red lip because I think red lipstick is an ABSOLUTE STAPLE (and often times life saver) as it's suitable for all skin tones. I use red lipstick on a regular basis; whether it be for business meetings, lunch out with friends, or semi-formal/formal events. As you can see, the look I'm sporting in the photograph below is rather heavy and is more appropriate for formal events. However, you can draw inspiration and take a lighter, more casual version of it to use on a day-to-day basis.
Note: This is NOT an endorsed post. All the products I have listed below are the products I personally use and is what I believe works best for my skin type. Remember to always, always, test out the product first because everyone has a unique skin type. What works for me, might not work for you. :)
For this look I used:
Moisturizer: GNC Aloe Vera Moisturizing Cream
Primer: Make Up For Ever All Mat Face Matifying Primer
Foundation: Make Up For Ever Mat Velvet Matifying Foundation #35
Concealer: Make Up For Ever Lift Concealer
Powder: MAC Studio Fix NC40
Eyebrows: Anastasia Beverly Hills Dipbrow Pomade in Dark Brown
Eyeshadow: NYX Love in Paris Shadow Palette
Blush: Bare Minerals in Warmth
Bronzer & Highlighter: LT Pro Shade & Tint Kit 01
Lipstick: Make Up For Ever Rouge Intense
Finishing Powder: Bare Minerals Mineral Veil
1. Make sure your face is free from any lotions or oils. Wash if necessary.
2. Evenly apply moisturizer to face and neck. Let the moisturizer set.
3. Wait a minute or two, then evenly apply primer to face and upper part of neck. Primer will act as an important base for the makeup and helps your makeup last longer. Let the primer set.
4. Wait a minute or two, then evenly apply foundation.
5. Apply concealer to any blemishes or spots that you might have. Also apply to eye bags and over the eyelids to create an overall even skin tone.
6. Apply powder to face and neck.
7. Next, you want to go ahead and form the eyebrows. I use a gel-like pomade, but you can just as well use a regular pencil.
8. Set the eyebrows with a thin layer of mascara to hold them in place.
9. Apply a mixture of light brown, dark brown, black, and bronze shades to your eyelids. Try to create a smokey-eye effect.
10. Apply eyeliner and at least two coats of mascara. If you want, you can also apply a set of fake lashes to further enhance your eyes.
11. Apply bronzer along your upper cheek bones all the way down near your lips. This should create somewhat of a line to help emphasize your cheek bones. Blend well.
12. Apply blush to the apples of your cheeks. Blend well to banish any harsh lines. Blending is key!
14. Start contouring by applying shade/bronzer over your jaw line, cheek bones, temples and either side of your nose.
13. Highlight your brow bone, nose line and top of your cheekbones using the highlighter.
14. Apply the mineral veil, or finishing powder, to help set everything in place.
15. Apply lip balm to moisturize your lips, then last but not least, apply your red lipstick!
.....and voilà! What do you guys think? Send me your thoughts and opinions in the comment box below! Would also love to know what other makeup looks you'd want me to feature next. :)
xx
Elizabeth


